A common practice in architecture and interior design is for design teams to create spaces that can serve various functions depending on the occupants needs. As photographers of these spaces, we are often asked to show this flexibility images that illustrate multiple arrangements within. In years past, I would go about this by creating these images one after another from scratch, resulting in the capturing, lighting and assembling them each as singular images. With some practice I was able to develop a technique that allows the creation of these views as efficiently as possible by treating the first overall image as the base, and replacing only the altered portion of the scene as needed. Though this likely seems logical upon reading, I’ve found that it helps to hear someone talk through their thinking and process before it clicks in my head and changes the way that I organize myself during a shoot and in post-production to have as efficient a workflow as possible.
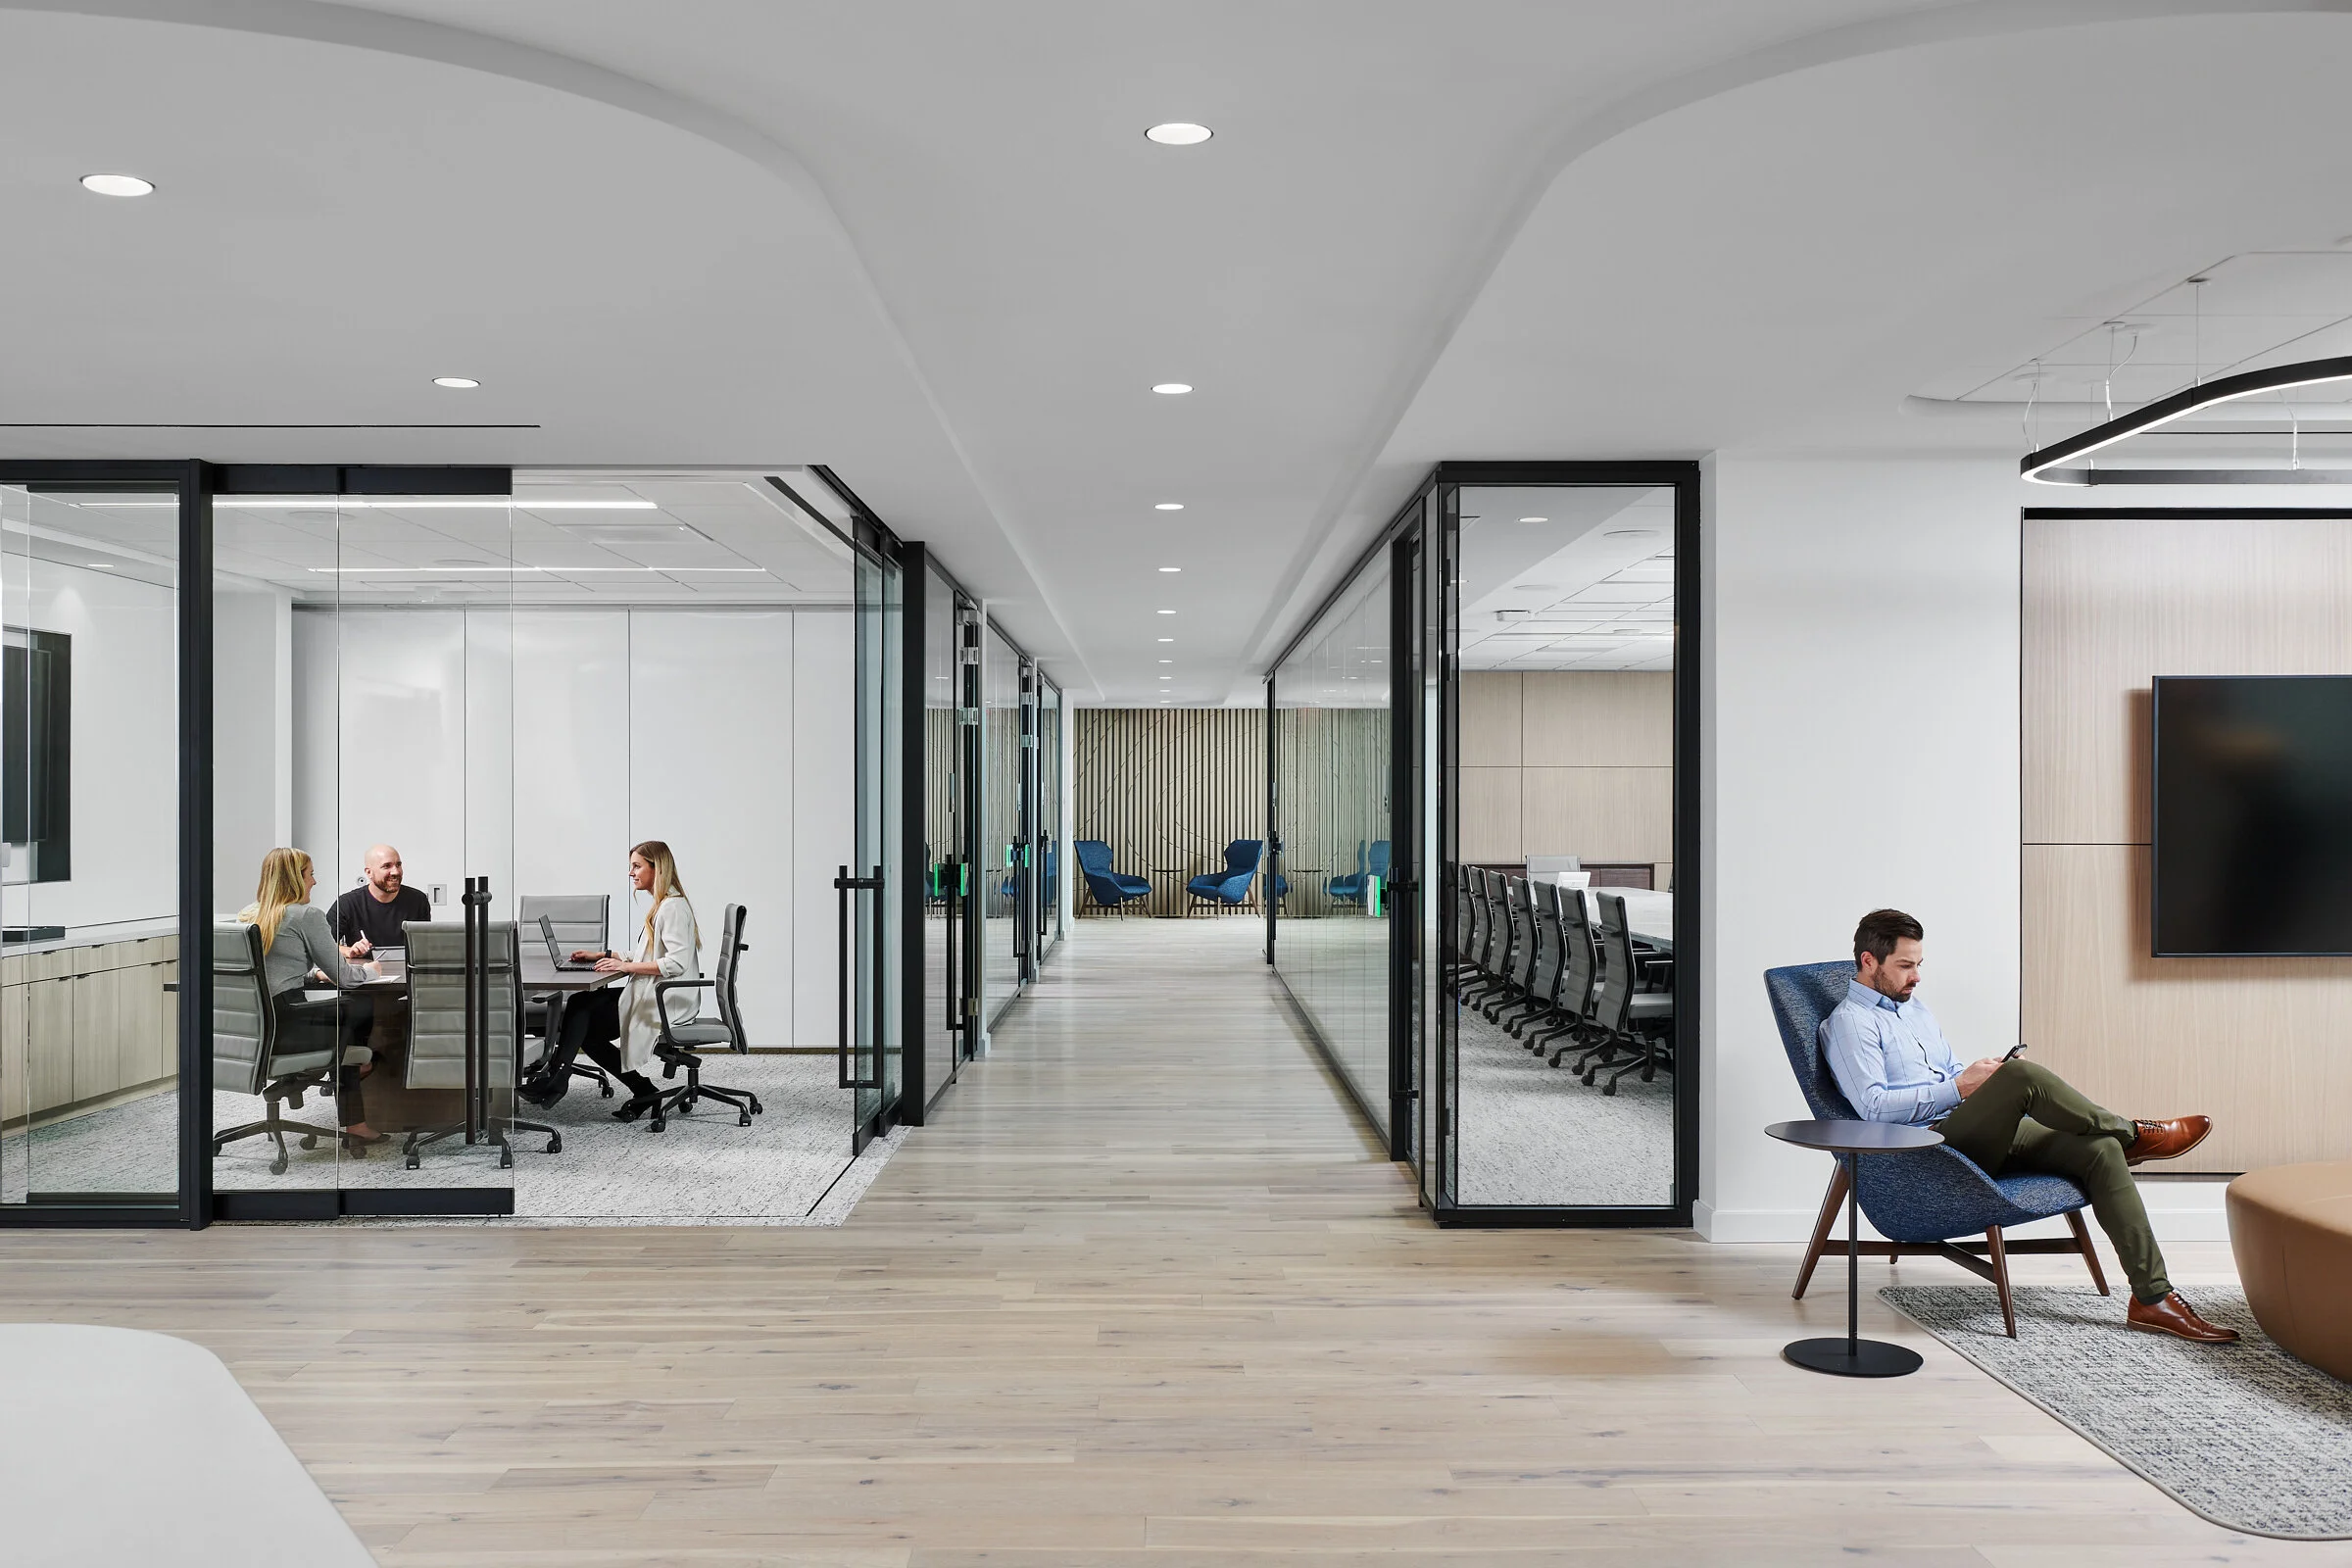
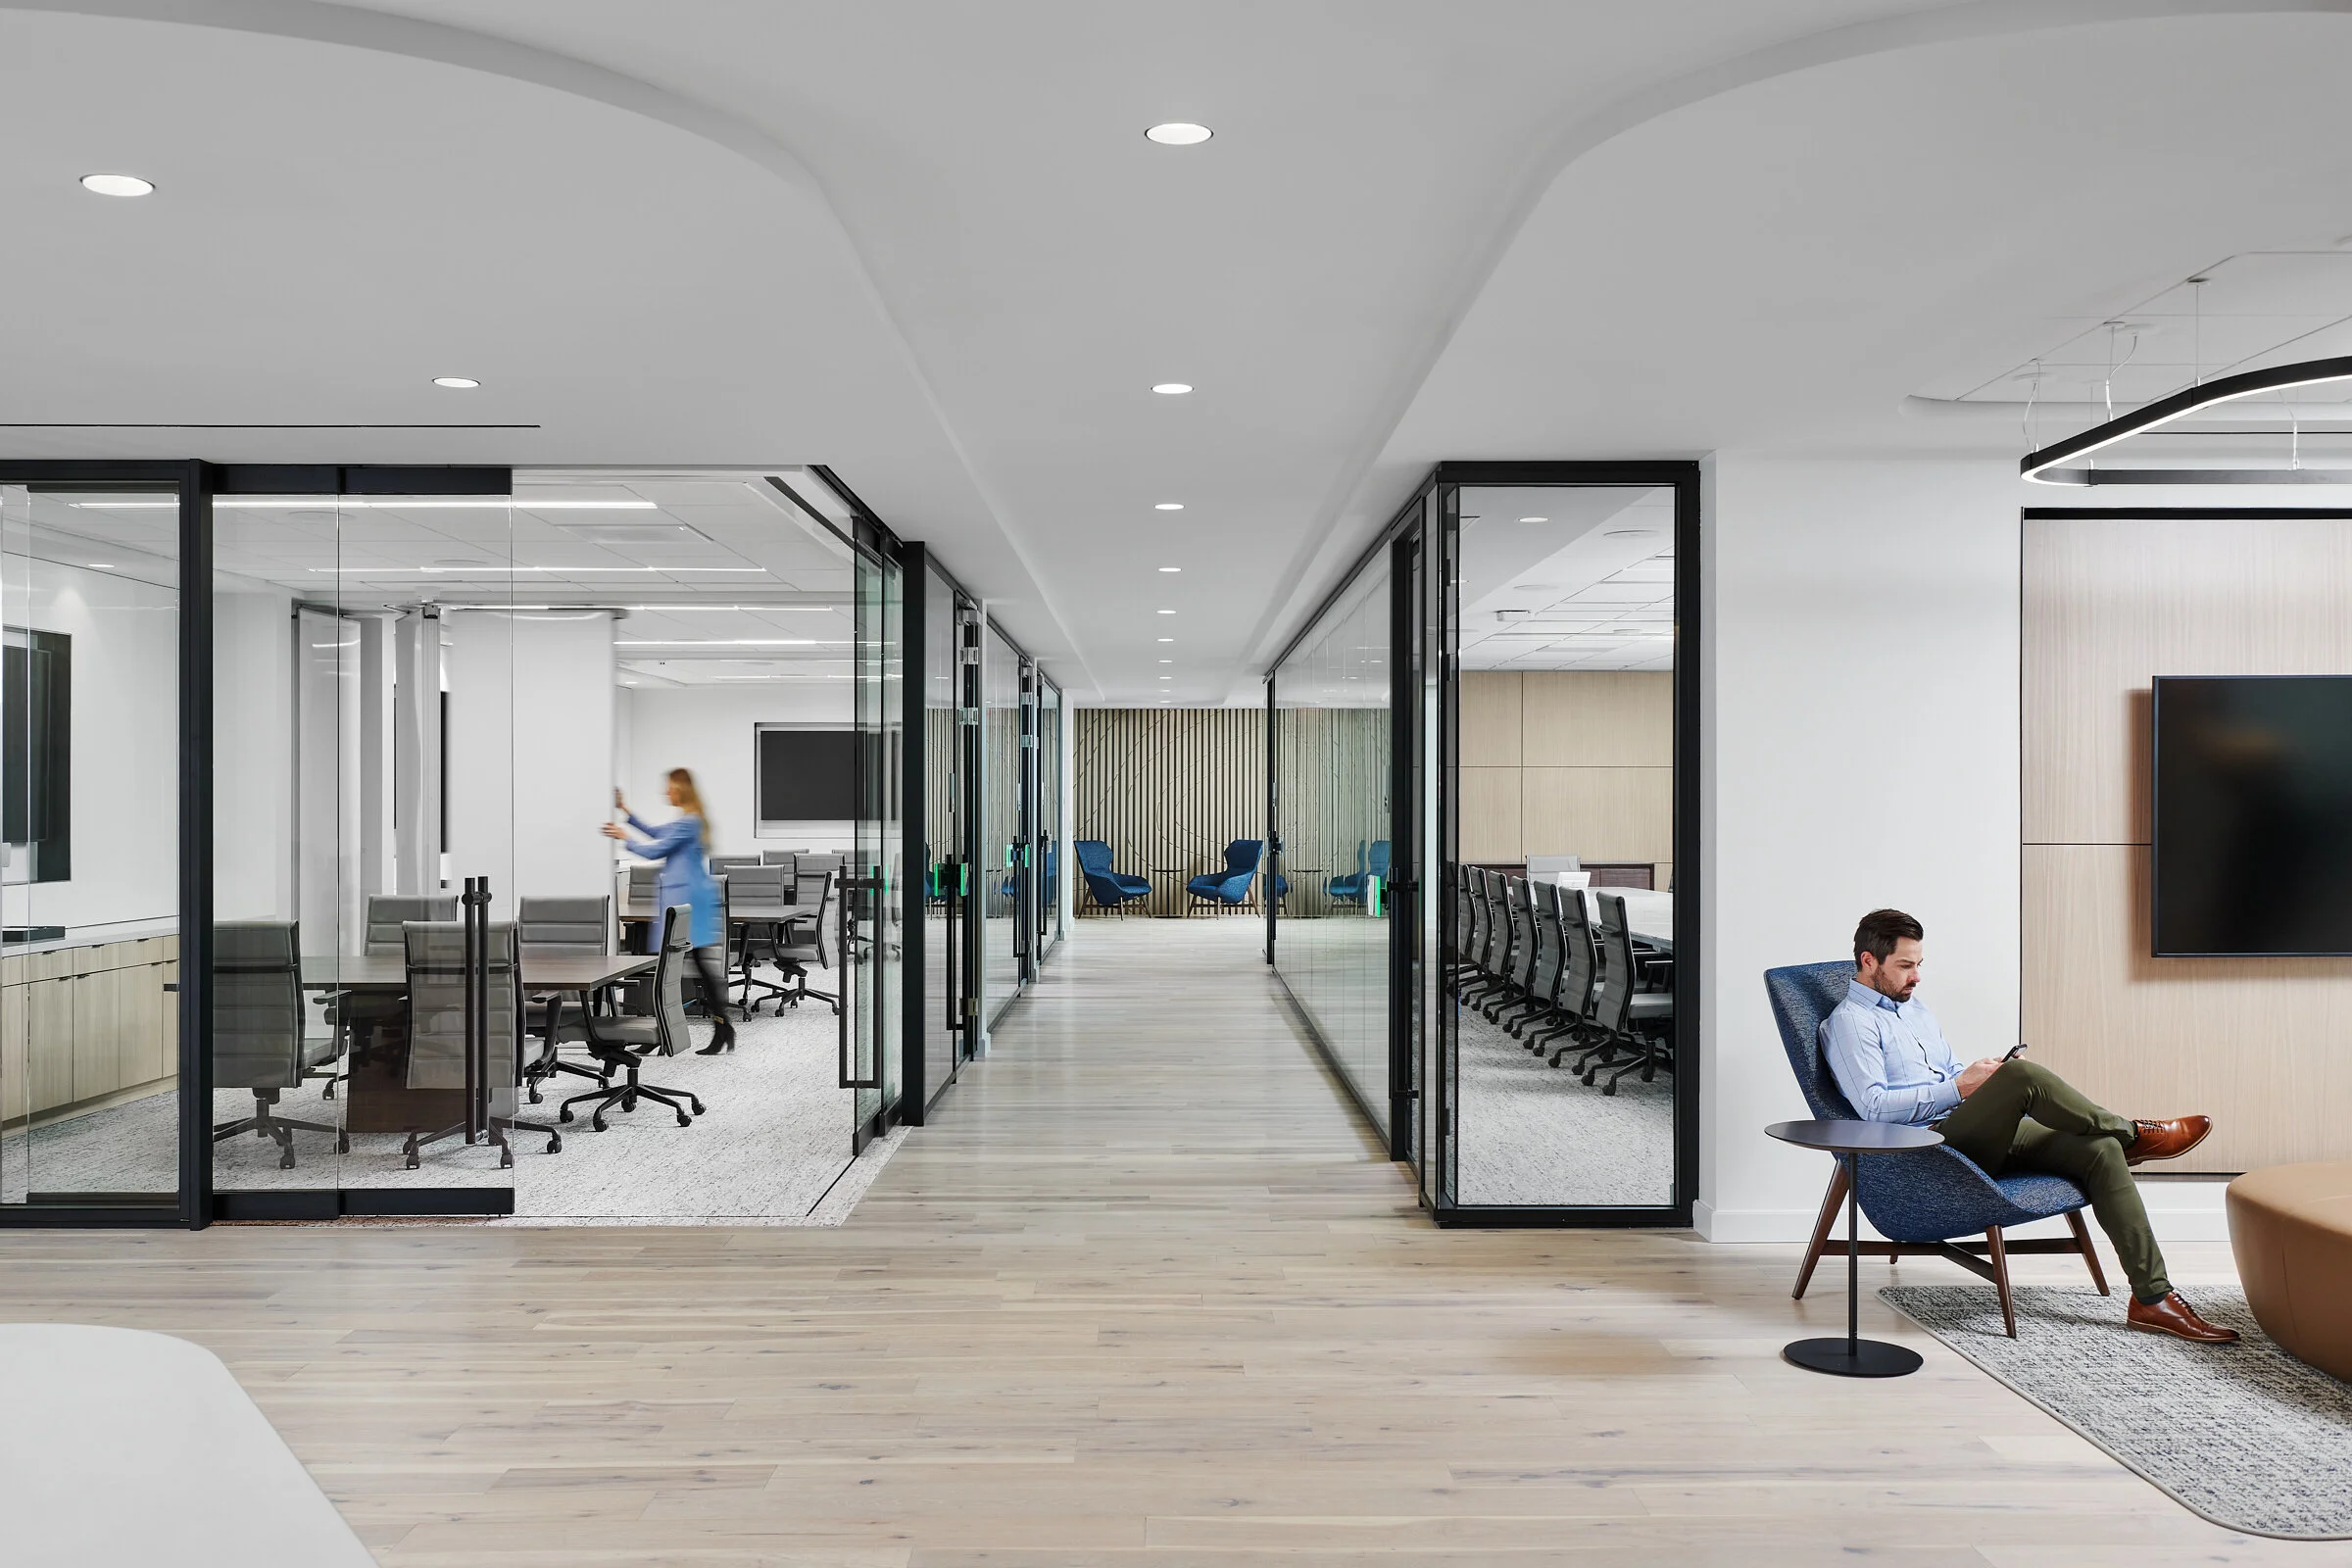
In the example shown, we are standing in the lobby of an Austin Law Office designed by Perkins + Will and are looking down a corridor separating a large board room on the right hand side and a series of meeting spaces on the left. These spaces on the left are designed with moveable partitions separating each of them to allow the occupants to expand or contract their capacity as needed. To begin, we kept the partitions closed and simulated a meeting in the visible meeting room, showing it as it would most often be used. Once we completed the photography of this overall scene, we then decided to show an alternate version with a person setting up the space to be a larger meeting area, while also showing them moving the partitions to illustrate the technology used in their design (this has an added benefit of not having to completely rearrange the space to accommodate a larger group). Once we established this alternate scenario, all we had to do was focus on that particular part of the image while shooting, knowing that we would be able to insert it quickly and efficiently in our post-production workflow. In this case, we chose to keep the model on the right as is for both images, with the thinking that the images won’t be shown side by side on a website or in print, but most likely just in presentations to clients to illustrate the moveable partitions creating a flexible space.
I have found this method useful in a variety of scenarios, including shooting a space with a closed and opened door giving a view into the function beyond, flexible furniture solutions (i.e. sit/stand desks), variations on people using a space, exterior views with moveable walls allowing for an indoor/outdoor connection, etc.